Tip of the Month - May 2024
Pressing and Popping your seams so they lay flat

Popping & Pressing: Basic 4-Patch Units. The basic 4-Patch is an easy seam to pop, or spin. First, you have to sew and press your 4-patch! Sew your pairs—light and dark. Press toward the dark. Nest the seams by placing the units right-sides together and abutting the seams.
Sew these together and—here’s the fun part—twist the seam so that the threads at the intersection “pop.” (It’s fine, I promise!) Press from the back, and then the front. In the video below, you’ll notice that this time, I pressed toward the light. That’s OK, too! Press the seams where they want to go.
You’ll have nice, flat seams. Make sure you take time to marvel at the miniature 4-Patch it makes on the back of the 4-Patch unit. So cute!

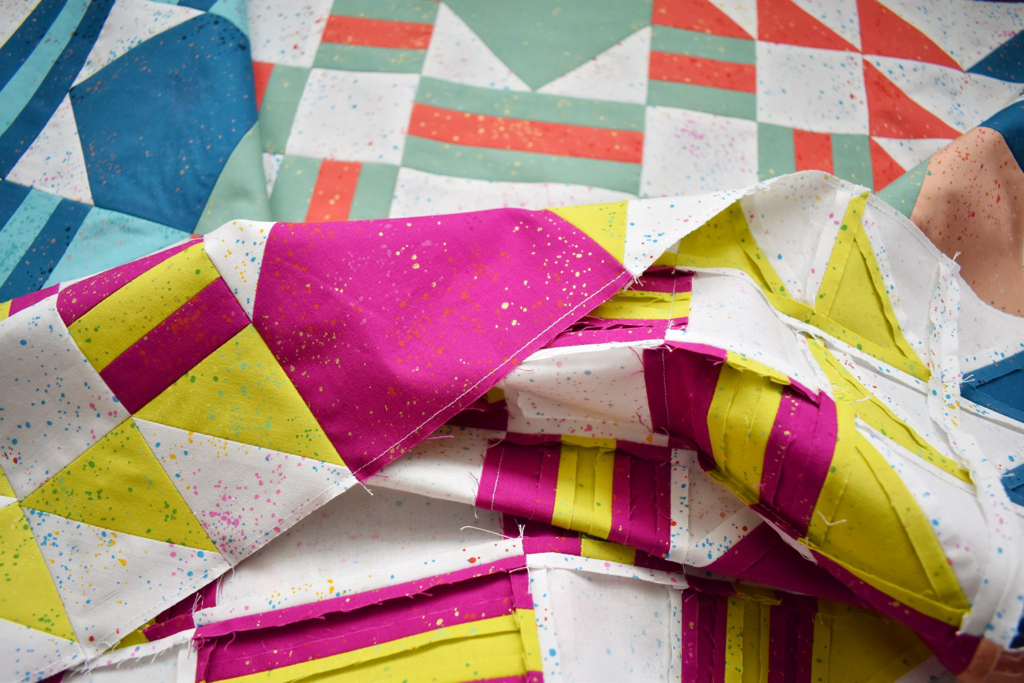
Pressing & Popping: Pinwheel Units Sewing over a Pinwheel center seam is an education on why you should pop your seams. When creating the Triangle Squares, press toward the dark. Trim off your dog ears to get all the extra fabric out of the way.
Sew the pairs together, and then press that seam toward the dark as well. Then place them right sides together, and nest the seam. Next, sew the units together, and then twist that center seam so that the threads pop at the intersection.
From the back, press all the seams toward the dark, and then press again from the front. Finally, take a moment to admire the miniature pinwheel on the back of your Pinwheel unit. Because it’s adorable.

Pressing & Popping: Hourglass Units. These units were made using our but even if you’re sewing together individual triangles, the popping and pressing strategy is the same.
First, press your Triangle Squares (or your quarter triangle pairs) to the dark, and nest the seams. Next, sew the seam. Because of the method I’m using, in the video, I sew a second seam and cut my units apart.
Now it’s fun time — twist the seam so that threads at the intersection pop! Press from the back, and then press from the front. Finally, take a moment to revel in the little baby hourglass on the back of your Hourglass unit. Isn’t it so sweet?
Tip of the Month = April 2024
Big Stitch Quilting

Big Stitch Quilting, sometimes also referred to as Utility Quilting, is very similar to hand quilting, but with a few key differences. For one, longer stitch lengths (e.g., ¼”), are used, which means the hand quilting will go faster! Another difference is that perle cotton is used instead of traditional hand quilting thread; Perle Cotton comes wound in small balls and is often found in shops near embroidery supplies.
Another notable difference of Big Stitch Quilting versus regular hand quilting is that the thicker perle cotton adds a bolder, more visible design element to the quilt. Compared to machine quilting, Big Stitch Quilting can also make for a softer-feeling quilt. Check out some of our essential supplies for Big Stitch Quilting.
✓ #8 Perle Cotton
✓ a quilting hoop (embroidery hoops are not able to hold the thicker quilt layers)
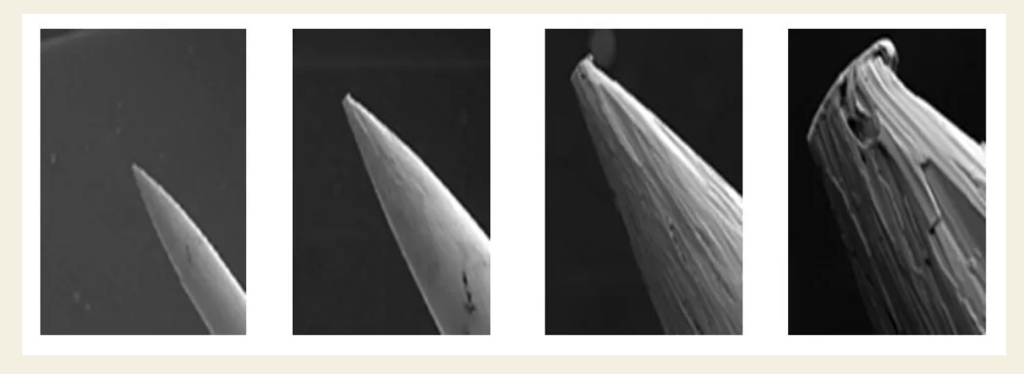
✓ Big Stitch Quilting Needle
✓ A thimble
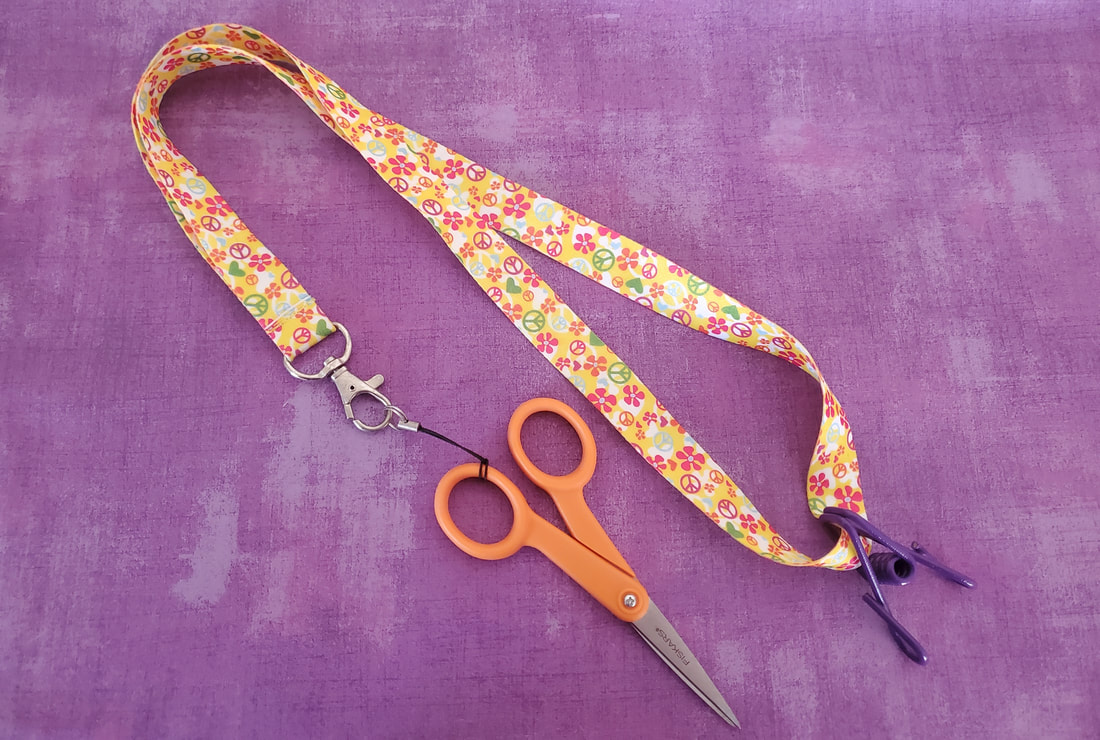
✓ Small embroidery scissors
Another notable difference of Big Stitch Quilting versus regular hand quilting is that the thicker perle cotton adds a bolder, more visible design element to the quilt. Compared to machine quilting, Big Stitch Quilting can also make for a softer-feeling quilt. Check out some of our essential supplies for Big Stitch Quilting.
✓ #8 Perle Cotton
✓ a quilting hoop (embroidery hoops are not able to hold the thicker quilt layers)
✓ Big Stitch Quilting Needle
✓ A thimble
✓ Small embroidery scissors
Tip of the Month - March 2024
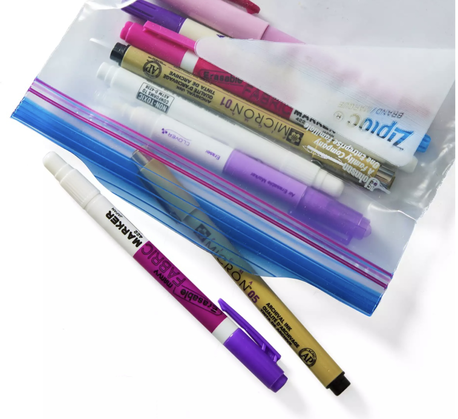
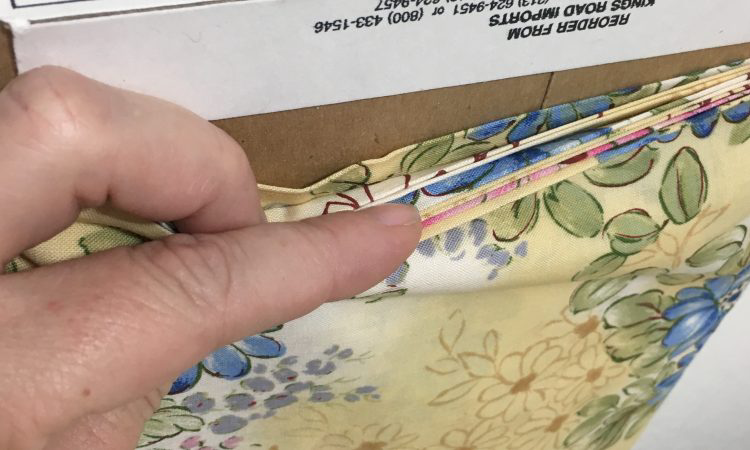
How to Sew a Simple Zipper Pouch with Free Tutorial
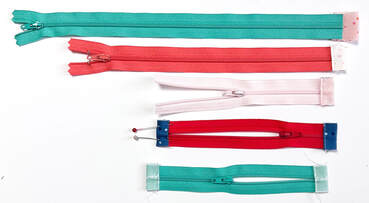
Ameroonie Designs shares with us how to sew in zippers and share a tutorial on
making a simple Zipper Pouch.
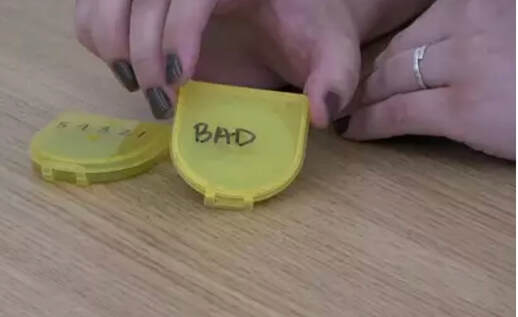
Lost in the chaos of my purse, drifting through crumpled wrappers, miles of grocery store receipts and “mom, can you hold this” paraphernalia are the things
I actually need- chapstick, a pencil, mints. Trying to find them can be like searching for the Lost City of Atlantis. But it doesn’t have to be this way.
Learn how to sew a simple zipper pouch and your purse, backpack or anywhere really can become a sanctuary of organization and peace. Well, maybe just organization.
making a simple Zipper Pouch.
Lost in the chaos of my purse, drifting through crumpled wrappers, miles of grocery store receipts and “mom, can you hold this” paraphernalia are the things
I actually need- chapstick, a pencil, mints. Trying to find them can be like searching for the Lost City of Atlantis. But it doesn’t have to be this way.
Learn how to sew a simple zipper pouch and your purse, backpack or anywhere really can become a sanctuary of organization and peace. Well, maybe just organization.